
This article will help walk you through setting up and testing SSO for your school.
Note: You will need a staff account to configure SSO. Please reach out to your career services department to request an account with the role of "Manage SSO Settings".
1. Check Your Permissions
You need the permission "Manage SSO Settings" on your user profile in order to setup and administer SSO on Handshake.
2. Select SSO Preferences
In your school's settings, you should see SSO Preferences at the bottom, click this to proceed.
3. Choose Your SSO Type
Select your SSO type from the drop down and proceed to the CAS Setup, SAML Setup, or LDAP Setup setup pages for further configuration.

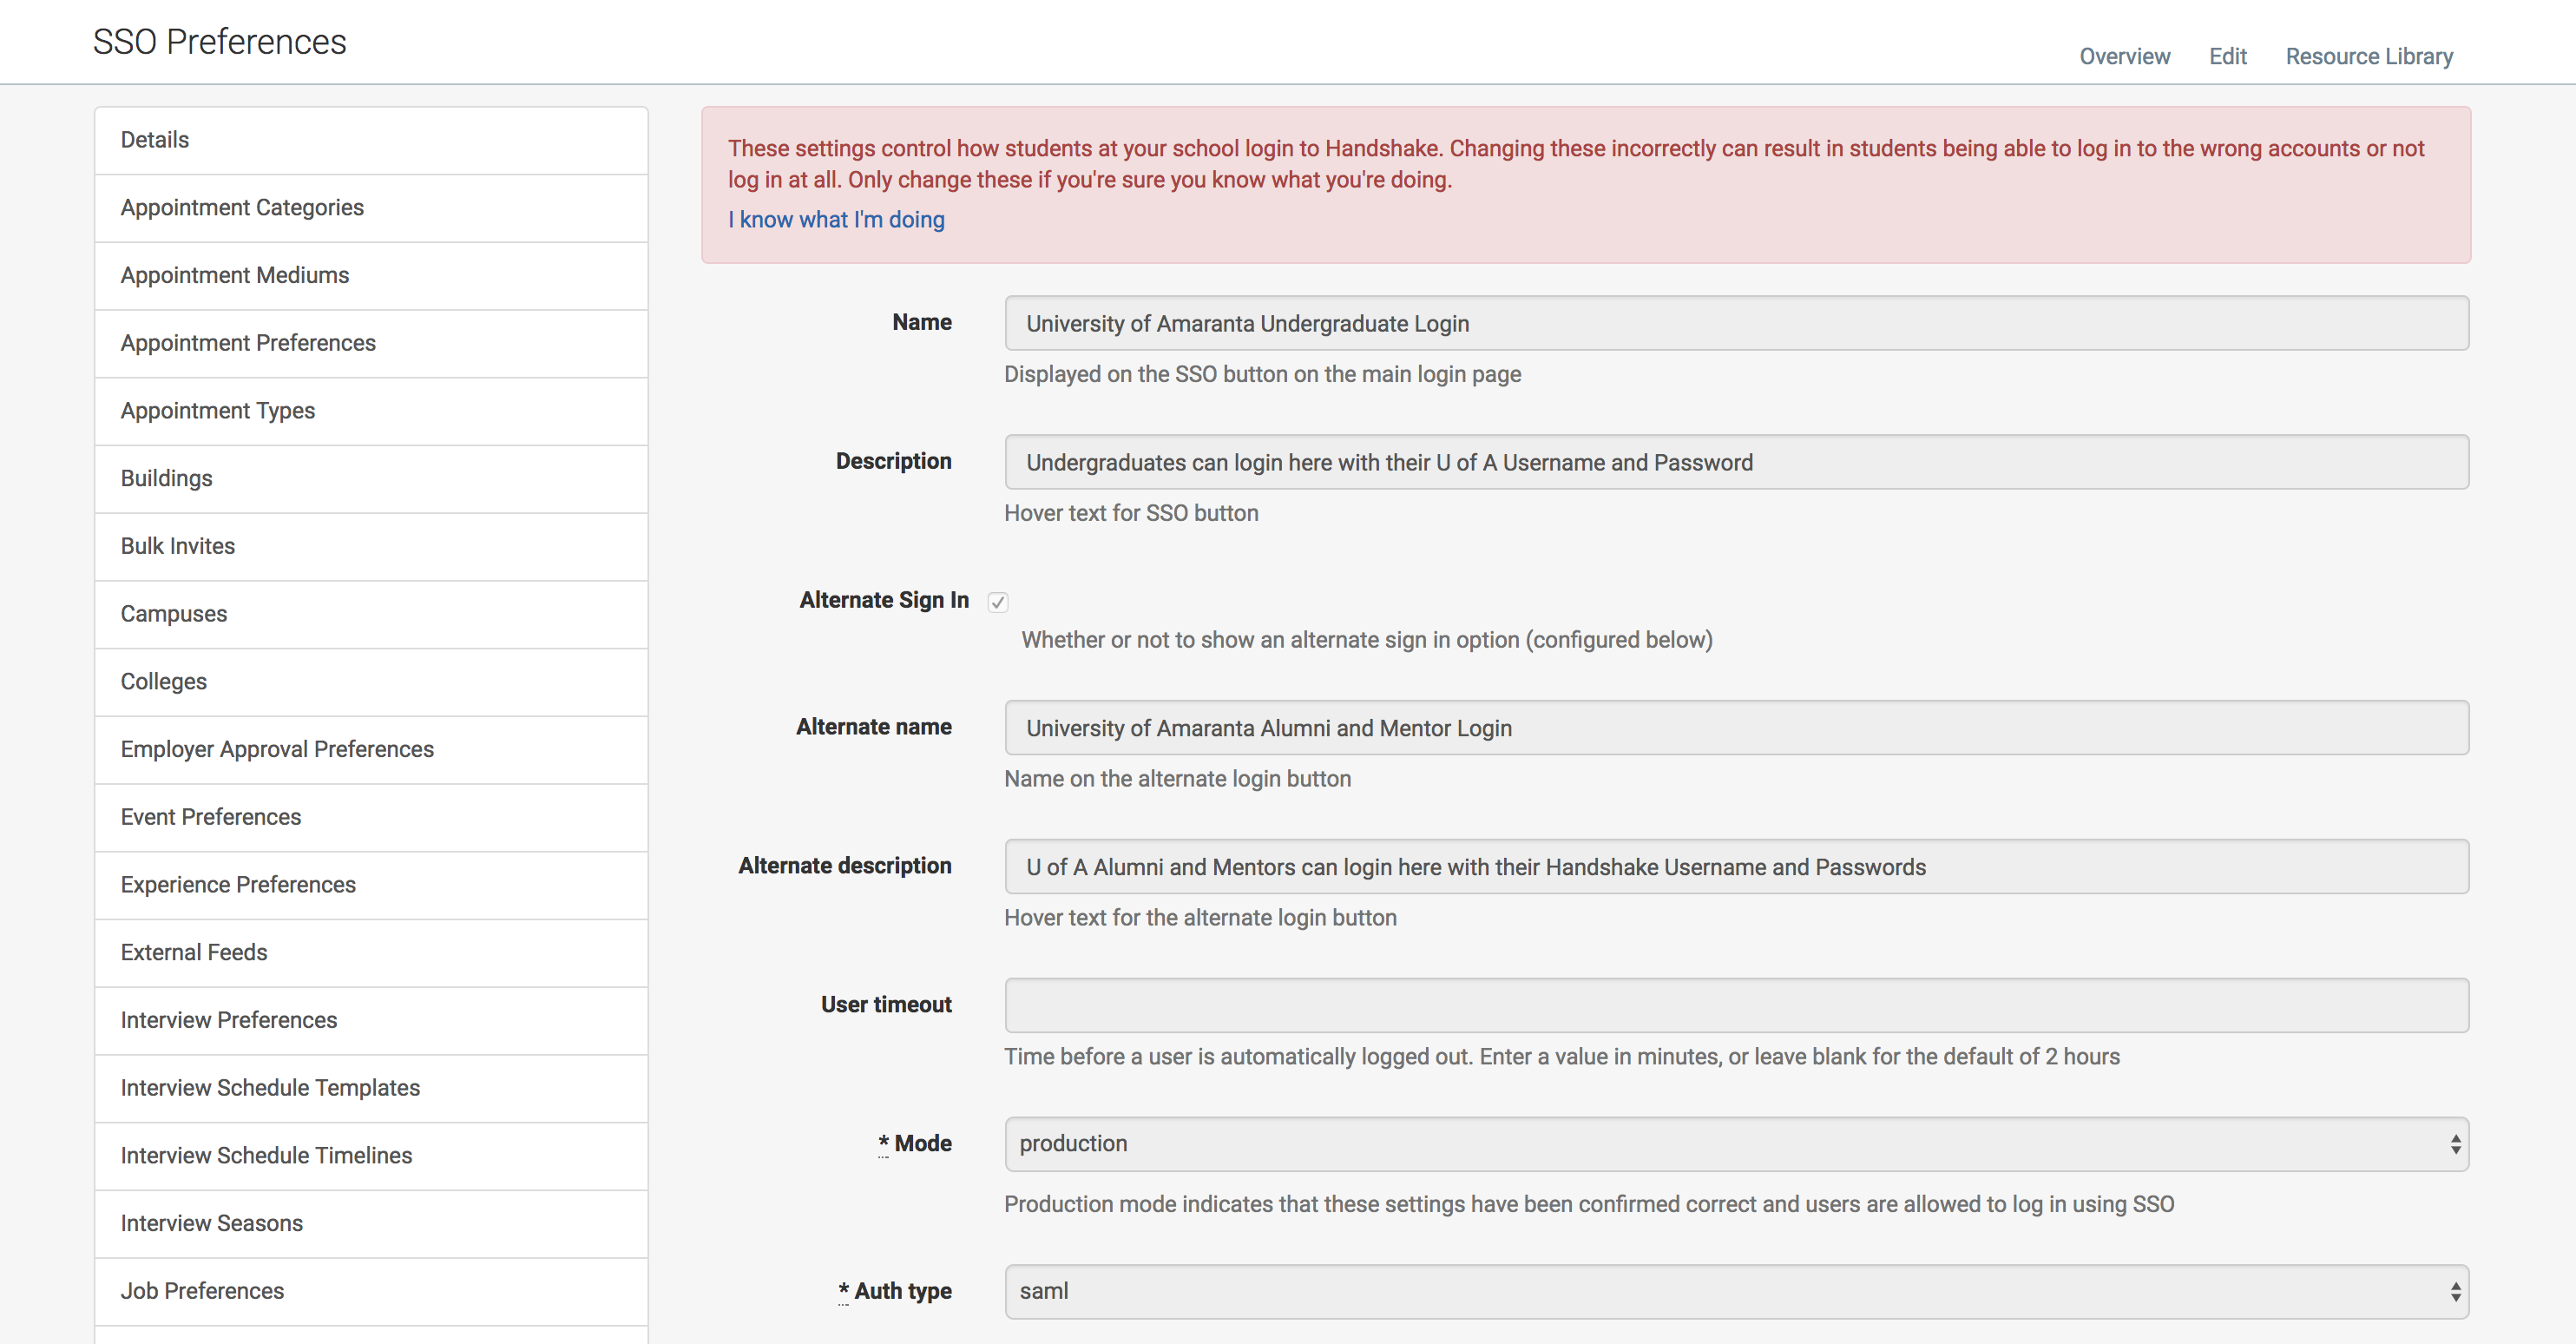
4. Set Basics
This helps to ensure the correct information is entered.
5. Testing Your SSO Login
While testing SSO be sure you are in "test" mode, this will give you more detailed error messages as well as hide SSO as an option from users until you enter "production" mode.
You can test your login by clicking Save and Test in the bottom-right corner of the screen.
This will redirect you to the SSO page.
You can set the mode back to "production" once you're satisfied with the test.
6. Testing After Students Have Been Imported
Typically SSO is setup before students are imported and it is required to test SSO login after students have been imported to ensure a great student experience.
After you have imported students, please ensure you have a few real students try to login with SSO; they should not have to set anything up after successfully authenticating.
Please contact Support if you run into any issues.