
Let's get you paid! Please reference this guide if you need more information on how to get setup within Stripe. You'll start the setup in Handshake AI and finish in Stripe. Once you've completed your setup, your payments will go to the account you added.
What is Stripe?
Stripe is a secure and widely trusted payment platform used by millions of businesses, universities, and organizations around the world. It's the same system companies like Google, Amazon, and Lyft rely on to safely send and receive payments.
Handshake AI uses Stripe to verify your identity and ensure that payments are processed accurately and securely. Your information is encrypted, never shared or sold, and handled only for verification and payout purposes. Setting up Stripe helps us confirm it's really you and ensures your payments are sent to the correct account.
Stripe setup
Step 1: Access the setup flow
There are a couple of different ways that you can enter our setup flow.
After completing your first task on a project with Stripe enabled, you will receive this pop-up message. Select "Start setup" to begin
You can also access by selecting "Payments" at the top of your project dashboard or "Start setup" within your project details panel
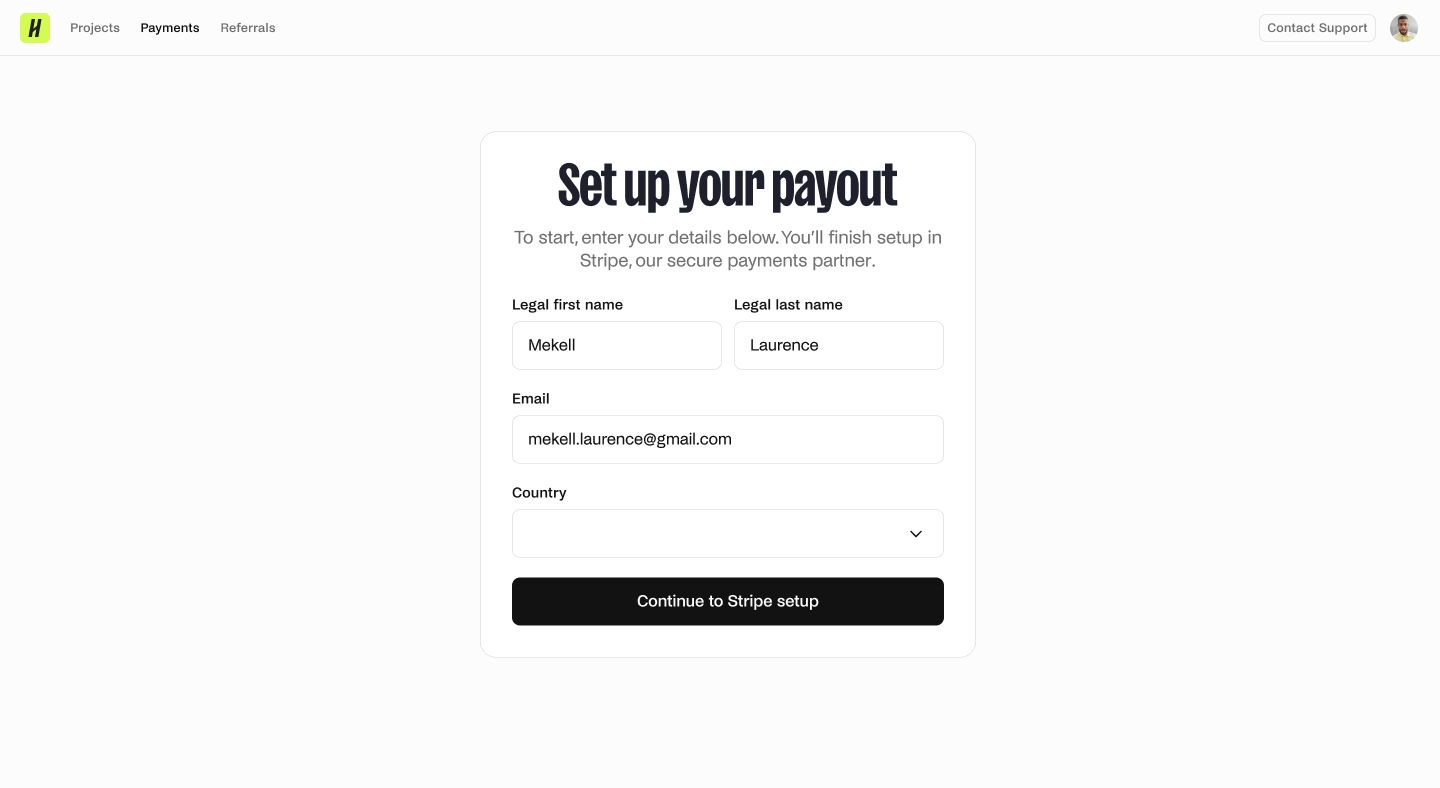
Step 2: Start by adding your information
You'll start by entering your details below. Select "Continue to Stripe setup" when ready, to go to Stripe to finish the setup process.
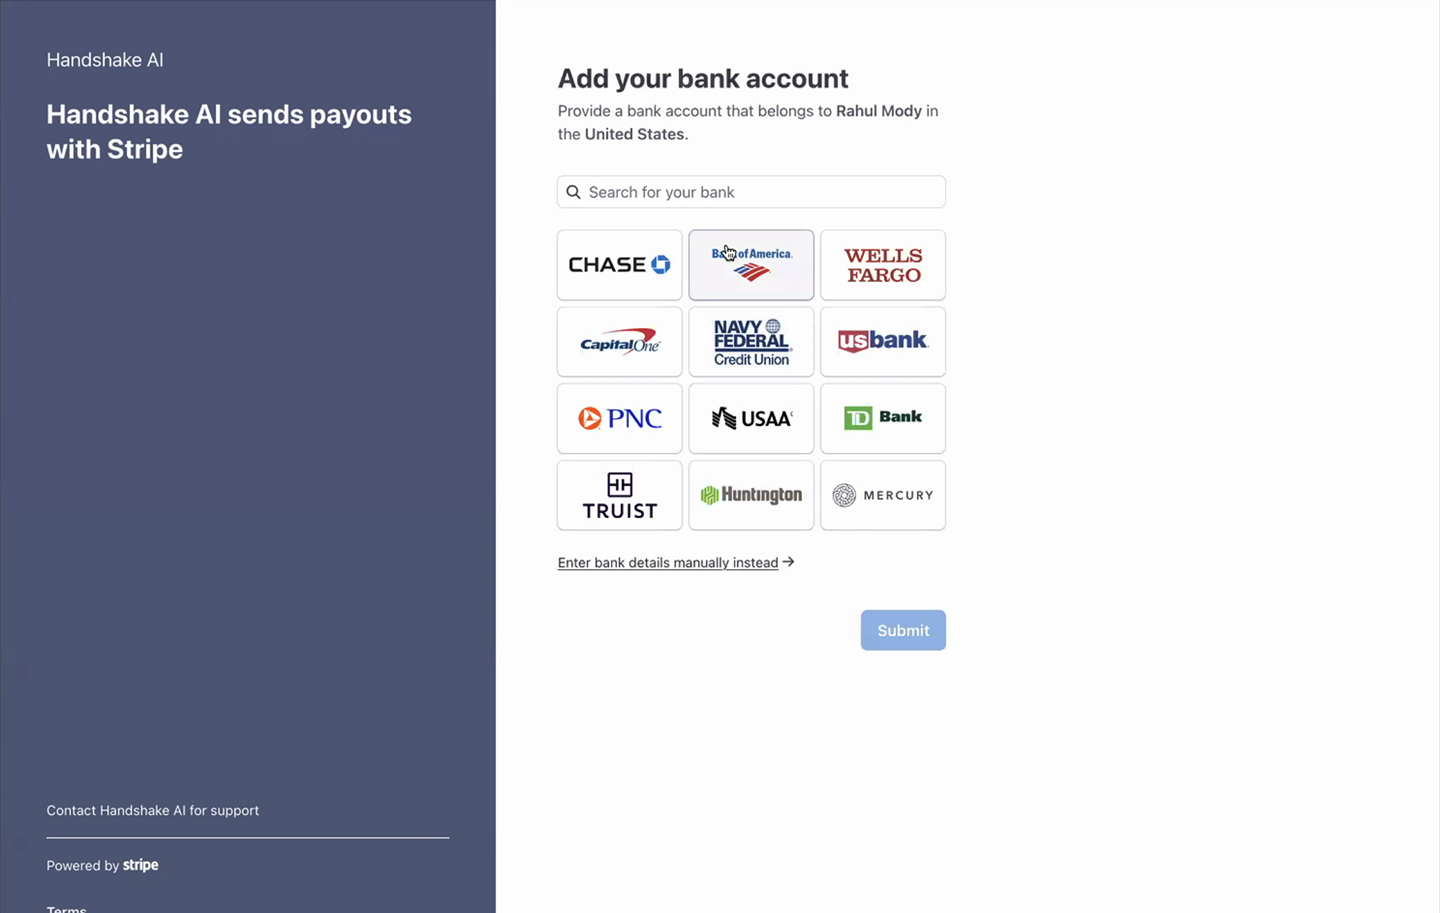
Step 3: Finish setup within Stripe
Follow the instructions on Stripe to complete your setup. Here you'll add your desired payout account.
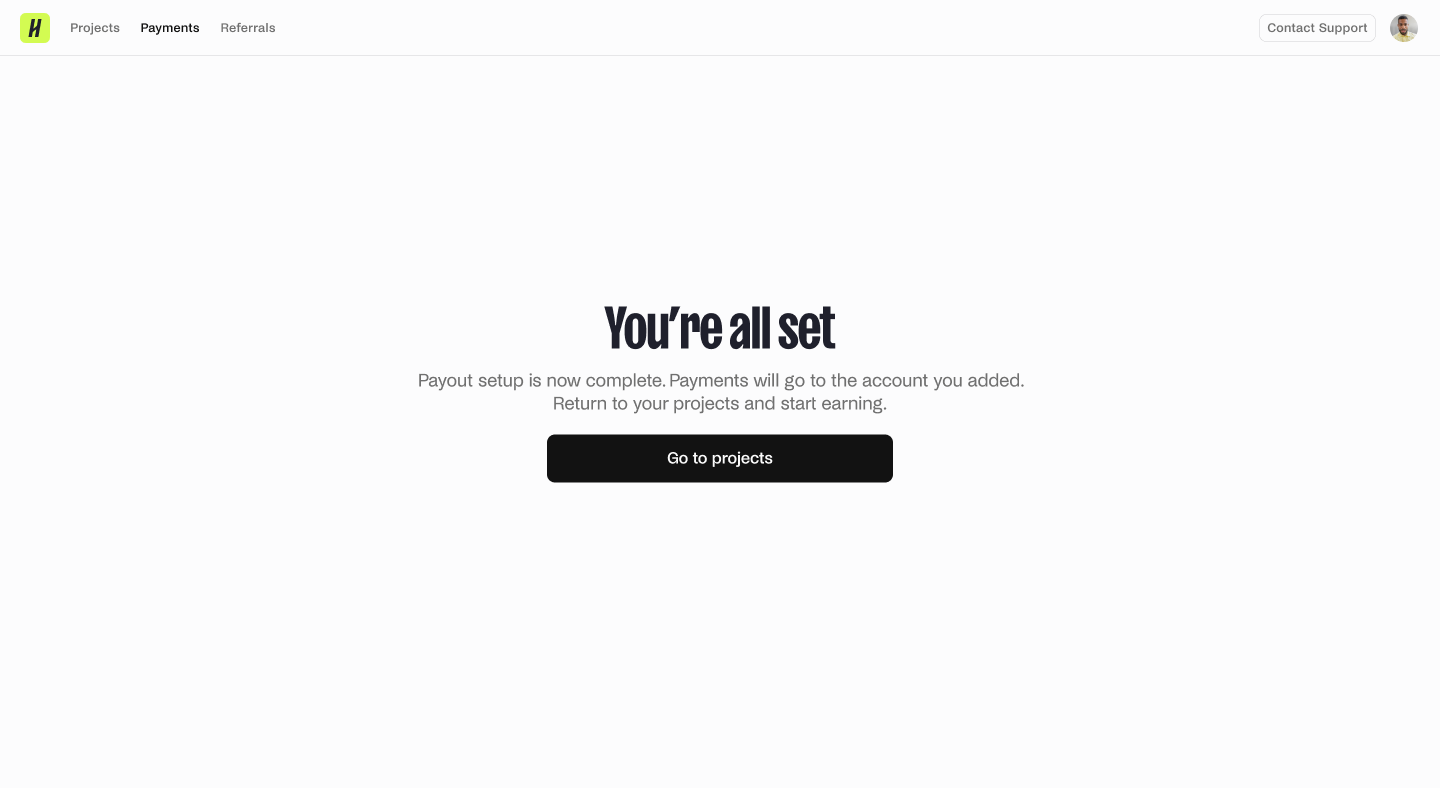
Step 4: You're all set
Once you've completed the setup in Stripe, you will be redirected back to Handshake AI where you'll see this confirmation message. This confirms that you've successfully completed your setup. Select "Go to projects" to return to your dashboard and start tasking and earning!
Troubleshooting common Stripe issues
My payment was returned or reversed
If your payment was returned, it is likely because your bank was unable to accept the deposit. This typically happens when your payout method needs to be updated, such as a changed account number or routing information. To fix this:
- Go to your Payments dashboard
- Click Manage payout method
- Re-enter or update your bank details
Once updated, the system will automatically reattempt the payment in the next payment cycle.