
This article walks through the general workflow for sending out the approval emails to the stakeholders in an Experience.
If you're using the new experiences view, please refer to Starting and Managing Approvals instead!
For an in-depth walkthrough, check out this recorded webinar that highlights the overall experience process!
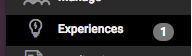
1. When a student requests an Experience, you will see a notification badge on the Experience tab in the left hand menu.
2. Navigate to the Experiences page:
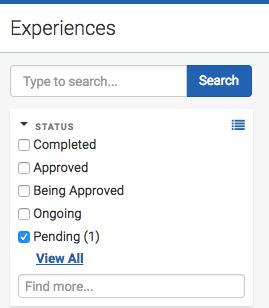
3. Filter on pending experiences:
4. Select the individual experience: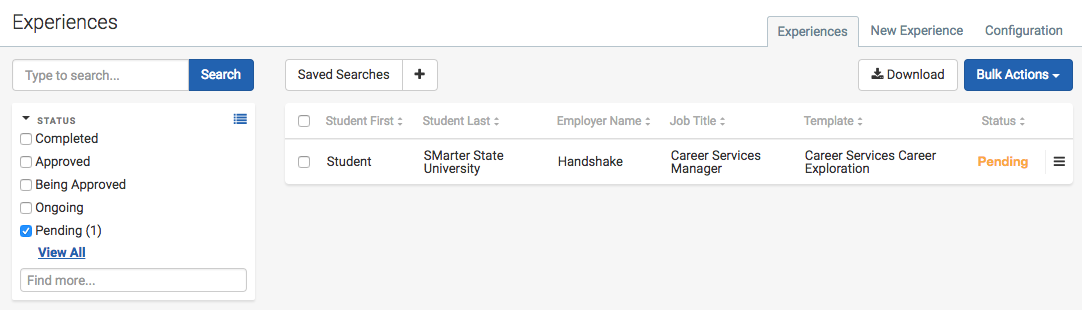
5. Analyze the details- make sure they check out with whatever standards and requirements are necessary for your workflow or internship/experience program:
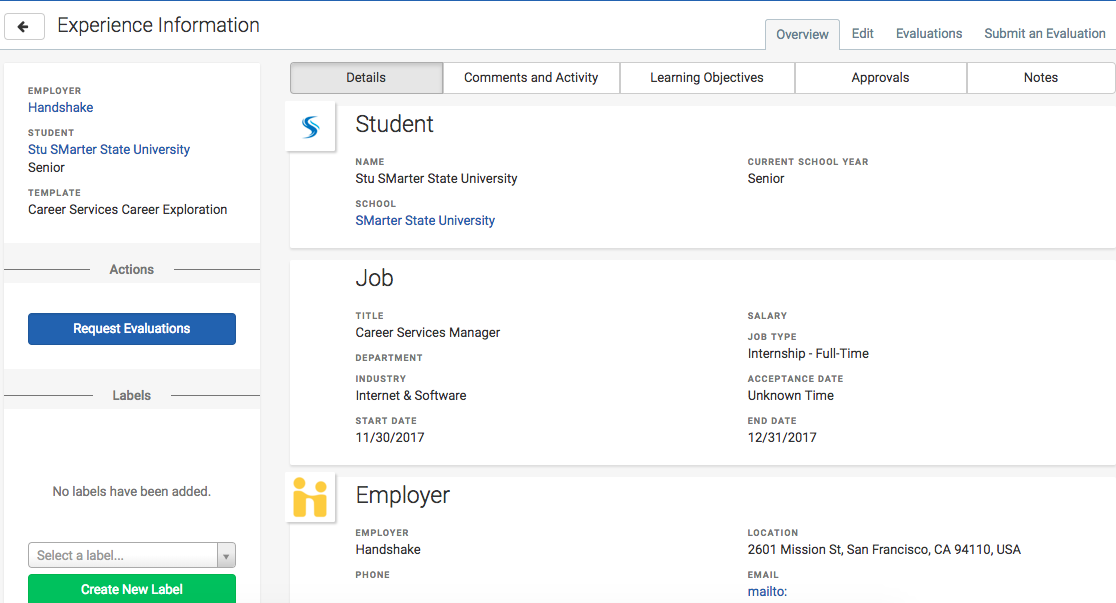
6. If necessary, add any:
- Comments
- Learning Objectives
- Attachments
7. Navigate to the Approvers tab:

These approvers are going to auto populate based on the configurations from the template that the student selected.
8. Review those details, and add or edit any approvers (and their attached surveys) as necessary. You can add an approver by selecting the " + "

9. Once everything looks good, scroll to the bottom of the page to choose the blue button to "Begin Approval Process":
10. Once this button is selected, the following will happen (this is also shown as help text in the app):
- Beginning the experience approval process will set the status of this experience to "Being approved" and update the deadlines of the approvals based on their deadline offsets.
- Handshake will send an email to the first contact listed in the Approvers tab.
- As soon as the first person approves the experience we will send an email to the next contact listed, and will repeat this process until the experience has been fully approved.
- Note: If any of the contacts decline the experience or a deadline is missed emails will no longer be automatically sent and we will also set the status to "Needs Review" and you will be notified. Once that "Needs Review" status is set, you will need to manually adjust (or re-send a link) in some part of the approval process.
- You can stop emails from being sent by editing this experience and changing the status to something other than "Being Approved".
- You will be notified once the experience has been fully approved.
If you run into questions while managing an Experience in the "Needs Review" status, explore our article on Managing the Approval Process.